Research Resources : Images: Live Photo Gallery
Quick Start Guide: Windows Live Photo Gallery
The functionality and appearance of the program on your computer may be different than the program depicted here, depending on the version of Windows you are using. The version depicted here is from Windows Vista Home Premium.
Note: This program is very similar to Windows Photo Gallery, but it has a few additional options like Straighten,Adjust Detail, and Black & White Effects.
Launching the Program
Open the Start menu > Click All Programs > Open the Windows Live folder > Click Windows Live Photo Gallery
Editing Images
1. Click on the image folder on the left side navigation panel (If the folder doesn’t appear in the panel, you can add it by opening the File menu and selecting Include a Folder in the Gallery…)
2. Click on the image you would like to edit
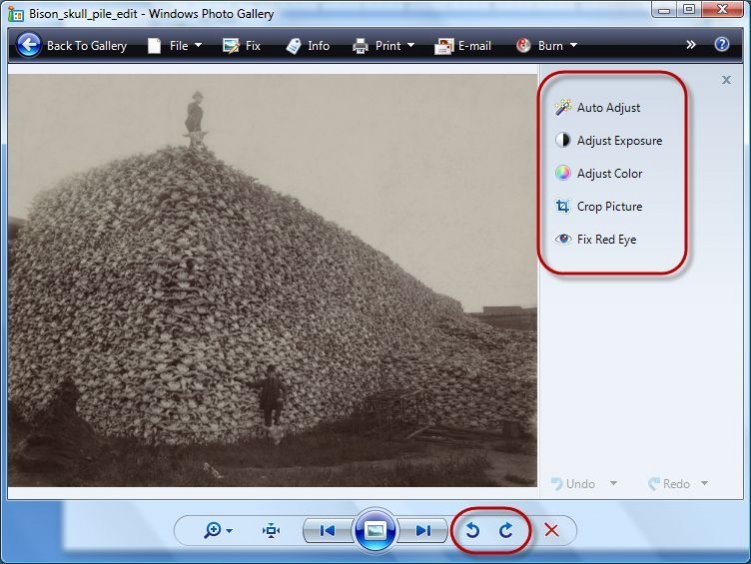
3. Click Fixon the top menu bar

4. Select an image editing tool from the right panel (Note: The rotate tools appear below the image.)
5. PressCtrl + S to save or press the Next button to save and advance to the next photo
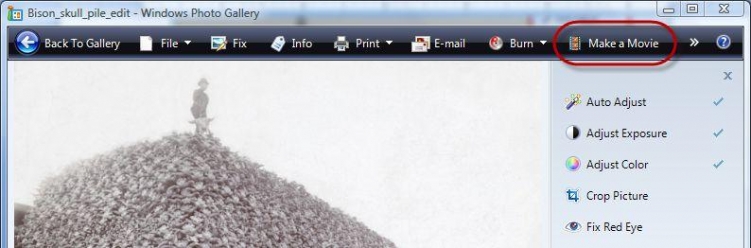
Launching Windows Live Movie Maker
Open the Make menu on the top menu bar and select Make a movie… There, you can create a slideshow or a movie from your images, with narration, effects, and transitions. See the Windows Live Movie Maker tutorial for more information.