Research Resources : Picasa Web Albums
File management for your project is very important!

Creating Folders on your computer
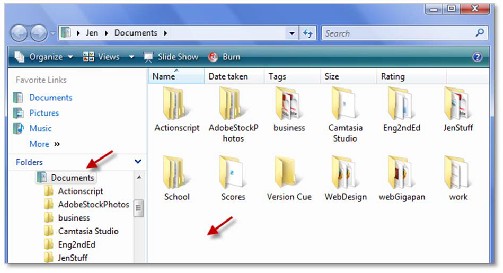
1. Navigate to the Documents folder on your computer.
2. Right click on the white space in the Documents folder.
3. Select New from the menu, then choose Folder.
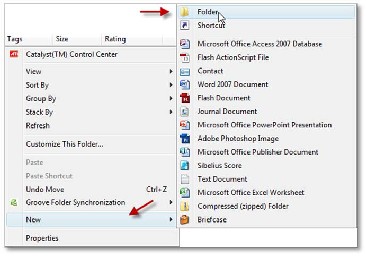
4. Name the folder – the folder created for this tutorial is named “GooWi Project”.
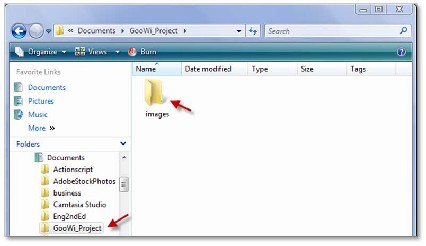
5. Open the new folder.
6. Follow the above steps to create an Image folder within the new folder.
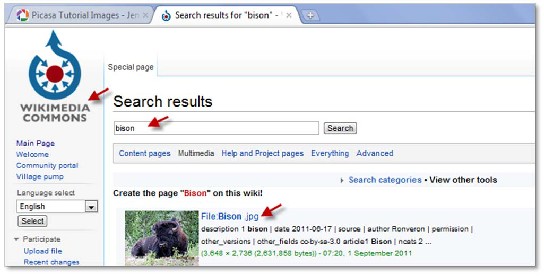
Searching for Images on the Web
It is important to check the copyright or license information before using an image in your wiki or
Google Earth balloons. Here are three common ways to find images on the web:
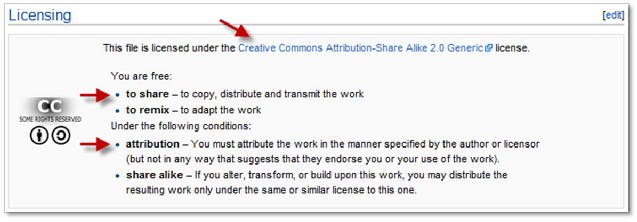
- Wikimedia Commons is a great site for finding images that can be reused under a Creative Commons License. There is a Licensing section for each image that explains the terms of reuse.
- Government sites often have images that are in the public domain. If you can’t find copyright information for an image, email the agency and request permission to reuse the image.
- Google Images search engine finds images on the web that match key words used in your search. Many of these images have copyrights that prohibit reuse. Be sure to review the terms of use before downloading an image.
Note: If an image is copyrighted, you may be able to email the owner to request permission to reuse the image. If you are granted permission, save the email that outlines the terms of use for your records.
Here is an example of a Creative Commons License on Wikimedia Commons:
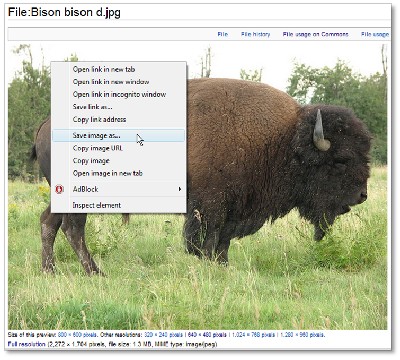
Downloading an Image from the Web
1. Click on the image thumbnail to open the image.
2. Right click on the image.
3. Choose Save image as… from the menu.
4. Navigate to the Images folder you created.
5. Name your image (choose a meaningful name) and press Save.
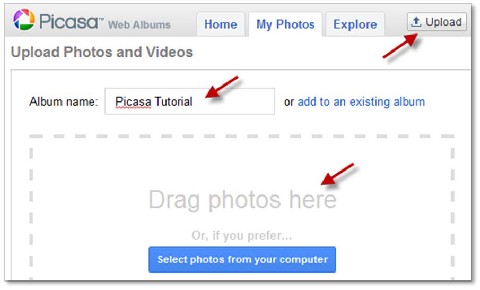
Uploading your saved image to Picasa
1. Log in to your Picasa Web Albums account and press the Upload button.
2. Name your album (note that you can also add an image to an existing album).
3. Open the Images folder on your computer.
4. Drag the photos you would like to upload into the Picasa Drag photos here box. (You can also press the Select photos from your computer button in Picasa and navigate to the images you would like to upload. Select the image and press the Open button.)
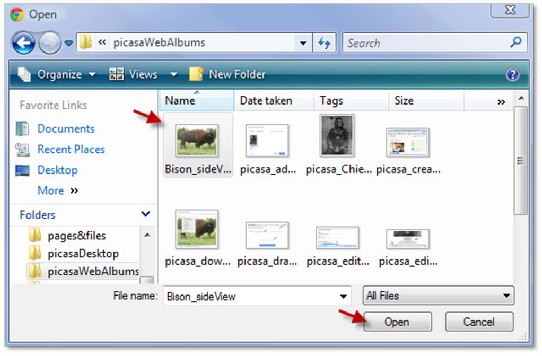
Hint: To select multiple images, press the Ctrl button and click on each image you would like to upload. To select a series, click on the first image of the series and hold the Shift button down while selecting the last image in the series. To upload the images, press the Open button just as you would when selecting a single image.
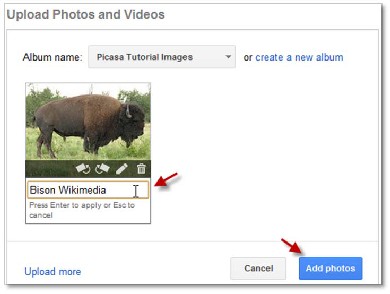
5. You can add a short caption to the photo in the Upload Photos and Videos box.
6. Press the Add photos button to complete the upload.
Editing Share Settings in Picasa
Now that your picture is uploaded, you will need to edit your share settings.
1. Press the edit link in the right panel of your Picasa Web Album.
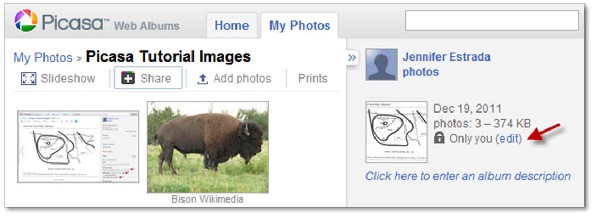
2. In the box that appears, choose the Visibility setting to Limited, anyone with the link, and press the Save changes button.
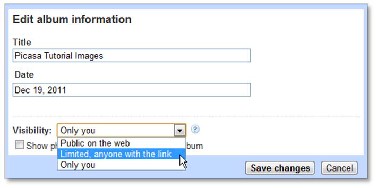
Note: This setting will allow you to embed images in your Wiki pages and Google Earth balloons.
Editing the Caption
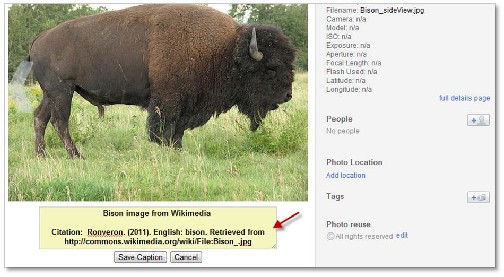
It is important to record citation information for the image and the link to the site where you downloaded the image. The image caption is a good place to record this information.
1. Click on the image thumbnail in Picasa to open the image.
2. Press the edit link under the image.
3. Enter the citation for the image and press Save Caption.
Linking to your Image
1. Click on the Link to this Photo link in the right panel of your Picasa Web Album.
2. Select the size you would like to use.
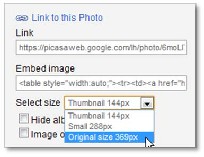
Note: Most images that you use in your Wiki and Google Earth balloons should be between 200px and
300px. You will be able to resize them in the Wiki and Google Earth, but the quality of the image may be compromised using that method. It is best practice to resize images before embedding them in the Wiki or Google Earth balloon. You can resize images using the online Picnik application, which you can access from your Picasa Web Albums account. For more information, see the GooWi Explorers Picnik tutorial.
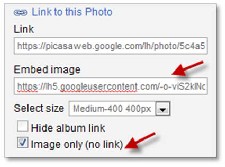
3. Click the Image only (no link) box.
4. Copy the Embed image link.
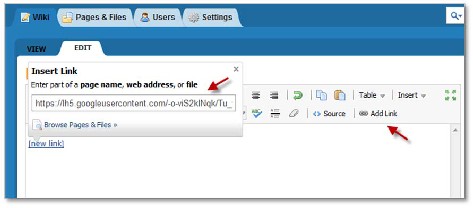
5. Open the Wiki page where you would like to embed the image.
6. Click the EDIT tab.
7. Press Add Link.
8. Paste the Picasa link in the Insert Link box.
9. Press the Save button.
The image is now embedded in your Wiki page.
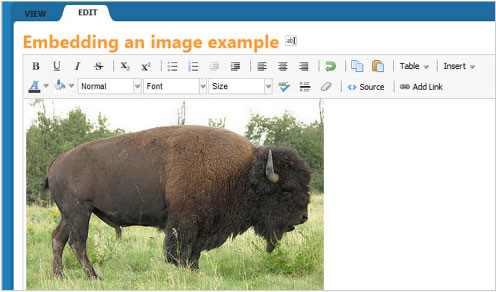
Note that the caption we entered in our Picasa Web Albums has not been imported with the image. We will need to add the caption to our wiki page manually and enter the citation information on our Resources Cited page.
