Research Resources : Picasa Screen Capture
Working with Picasa – Screen Capture with Picasa Desktop
 This tutorial covers using Picasa Desktop to take screen captures that can be used as Google Earth Image
Overlays. If you don’t have Picasa Desktop on your computer, it can be downloaded at www.picasa.google.com.
Taking a Screen Capture
1. Launch Picasa Desktop from the Start menu on your computer.
2. Sign into Picasa Desktop with your Google Accounts username and password.

3. Open the document or web page that you would like to capture. This example uses a map from a journal article. The article was found online and was downloaded as a Word document. Note that the article was given a descriptive name when it was saved.
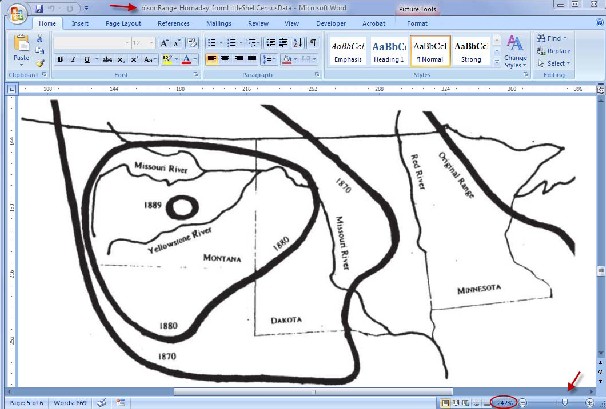
Note: The map image was enlarged using the Word zoom tool on the bottom right of the page. Enlarging the image will improve the quality of the screen capture. To enlarge web images, press the CTRL button with the + button to increase the size of online images in your web browser.
4. Press the Print Screen button on your computer.

5. The screen capture will appear in the Picasa Desktop’s Screen Capture folder.

Editing the Image in Picasa Desktop
We will be using this image only as a guideline for some paths we will draw in Google Earth, so the image appearance is not critical. We just need to crop this image to make it easier to work with in Google Earth.
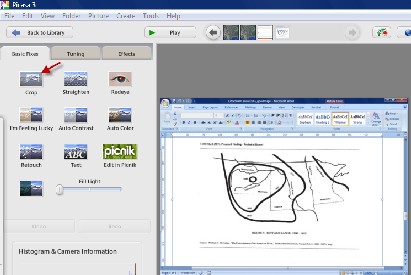
1. Double click on the image to launch the Edit function.
2. Select Crop in the Basic Fixes tab.
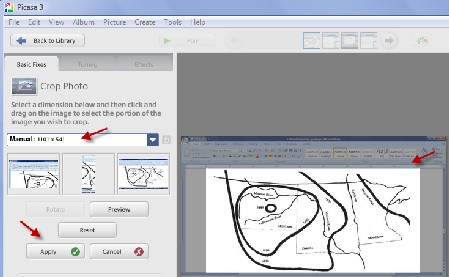
3. Select a crop dimension from the drop down menu.
4. Drag and resize the crop box to select the area you would like to crop.
5. Press the Apply button.
6. Save the edited image. Press File in the menu bar and choose Save As… from the menu.
7. Navigate to the Images folder within your GooWi_Projects folder.
8. Press the Save button.
Uploading the Image to Picasa Web Albums
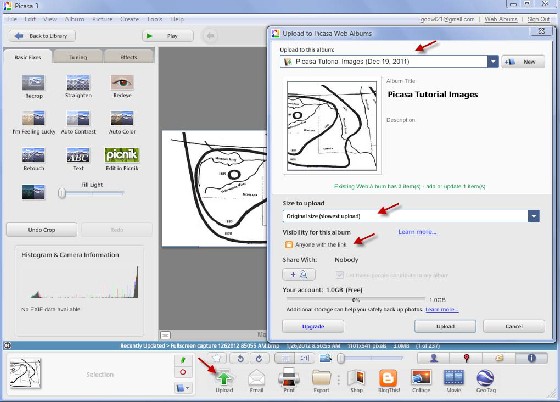
1. Click on the Upload icon in Picasa Desktop.
2. Select the online folder where you would like to upload the image in the Upload to the album drop down menu.
3. Choose Original size in the Size to upload drop down menu.
Note: The Original size option is usually the best choice for image overlays in Google Earth. If you upload images for the wiki or Google Earth balloons from Picasa Desktop, you may want to choose a reduced size from the menu.
4. Choose Anyone with the link for the Visibility for this album setting.
5. Press the Upload button.
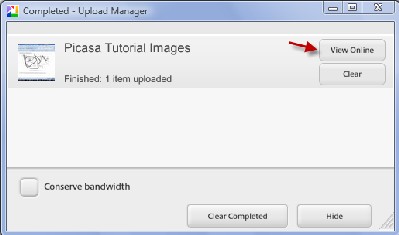
6. When the upload is complete, press the View Online button in the Upload Manager.
The image is now ready to be imported into Google Earth as an Image Overlay!
